How we make our Blades
Since the main menu has been getting larger, I decided to break this topic off into its own area, for ease of location. The URL’s have not changed, only the location of these sections in the menus. I will be adding more subjects on additional pages detailing the various types of blades, including picture diary’s and step by step tutorials of the making of some pattern welded blades, and other things Fenris Forge produces.
How I Make Damascus
This details the general process of building pattern welded blades. Showing the basic techniques common to most of my blades.
This details the general process of building pattern welded blades. Showing the basic techniques common to most of my blades.
Birth of a Katana
Diary of a ladder pattern katana from start to finish. Details the cutting of the bars and welding the billet, grinding, heat treating to the final packing and shipping of a custom order Katana for a client.
Diary of a ladder pattern katana from start to finish. Details the cutting of the bars and welding the billet, grinding, heat treating to the final packing and shipping of a custom order Katana for a client.
Damascus Patterns
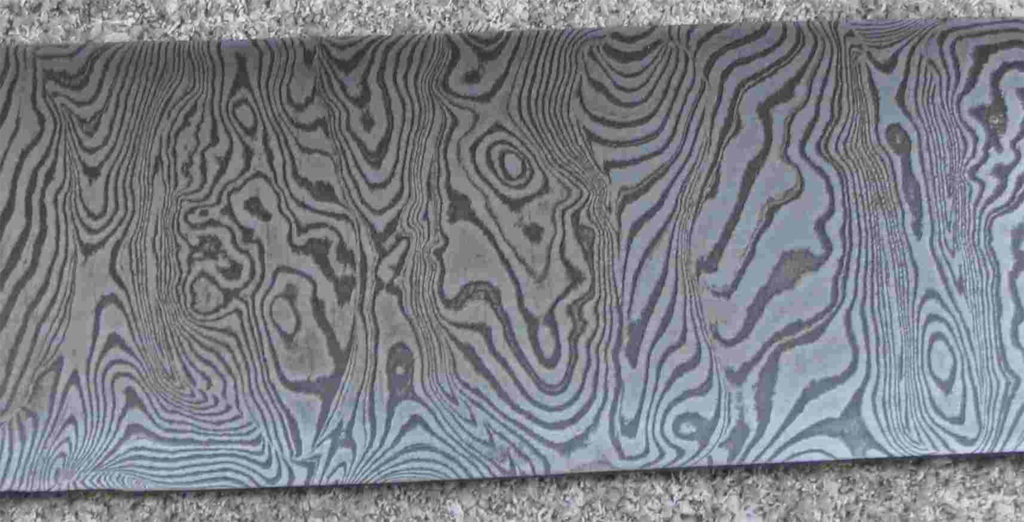
Zebra Stripe
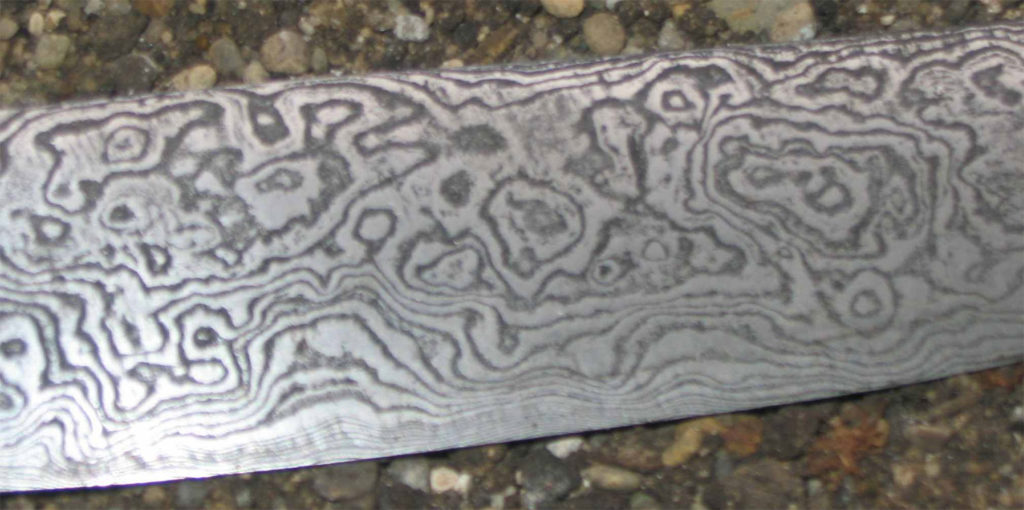
Pool & Eye
Maidens Hair
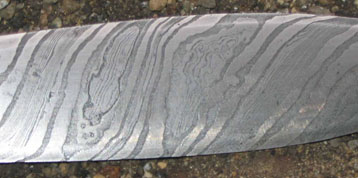
Compound Twist
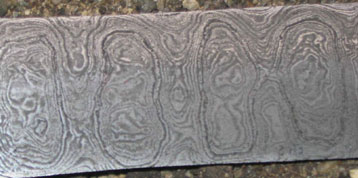
Ladder

Psychedelic Chevron
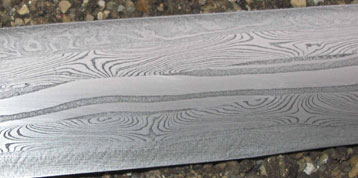
Serpentine
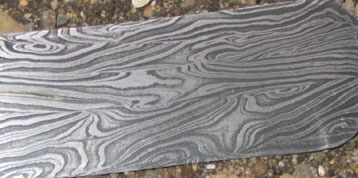
Persian
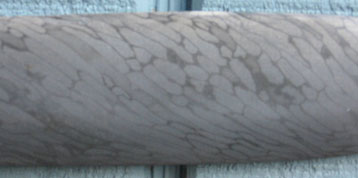
Welded Cable
In addition to these samples, I also do others, such as the basic Chevrons, twists, and combinations of these for multi cored blades and swords.
Because all of my blades are hand made, no two will ever be exactly alike.
More pictures of other damascus patterns will follow as I get time to create and post them.
Past Finished Blades
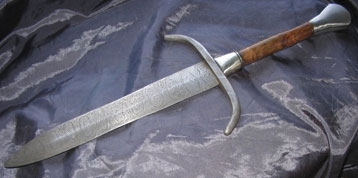
7 1/2 inch knights dagger. 360 layers 1095/8670m in a ladder pattern with twist pattern for the cross guard. Nickel silver bolsters and pommel with Blk/NS/Blk spacer and walnut burl.
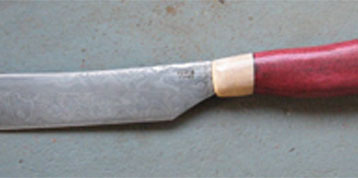
This is a 300 layer blade made of 1095 and metalic meteorite for the brighter layers. 6 1/2 inch blade, one piece handle of purple heart, with Stag antler for the bolster 14 inches overall.
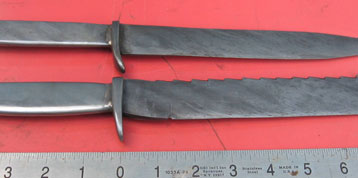
Matched cable damasucs Bowie and Fairbain Skykes. ¼ inch thick with saw teeth on spine of the Bowie. Client wanted to wrap handles with para-cord. Steel hardware

This Egpytian style single edged knife has a 9 1/2 inch blade of Bronze, one piece with the handle, pinned cross guard of brass. 15 inches overall.
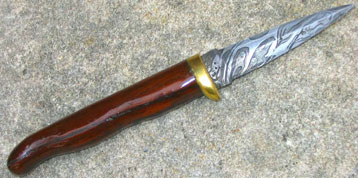
2 1/2 inch Boot Knife. 120 layers of 1095/203E/L6 in a compound twist pattern welded blade. Brass bolster and a contoured Osage Orange handle
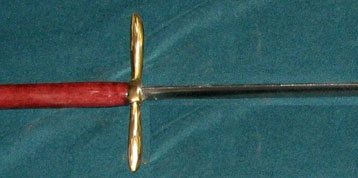
Bodice dagger, 5¾ inches long, triangle cross section stainless steel blade. 10¼ inches over all. brass hardware and south american purple heart handle. poly finish.
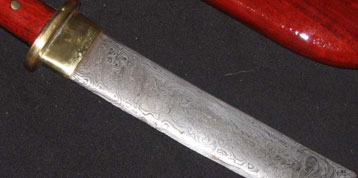
8 inch Tanto, ¼ inch thick 13 inches overall , 360 layers 1095/1018 Pool & Eye. Bloodwood sheath, Brass hardware
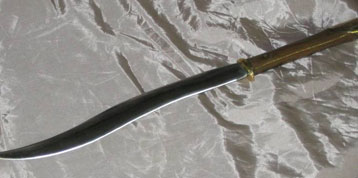
9¾ inch Yataghan styled re-curve 1080 blade. 15¼ inches over all. brass hardware and mahogany handle.
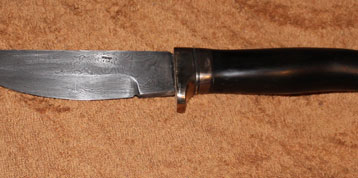
Skinning knife has a 5 1/2 inch blade of 210 layer damascus billet made of 1095/L-6 in a pool & eye pattern, with Buffalo Horn grip with Bronze bolsters.
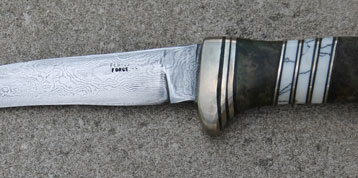
Pool and eye pattern, 5 inch drop point of 240 layers of 1095 and L6. German Silver hardware, with dyed Box Elder burl and white marble.
I would like to present a few photos of some blades I have made for my clients. I am not limited to any standard designs. I look forward to new concepts for exotic woods and blades. Contact me and lets see what I can do for you. These blade have already been sold and delivered o their new owners, but are posted as examples of some of the work I do
What is in our Forge
- Quench tank
- Scale bucket
- Anvil
- Leveling Anvil
- Coal bin
- Hand-crank Blower
- Tool quench
- Rolling Mill
- Slag/Ash bin
- Hood for coal forge
- 30″ Gas Forge
After choosing the steel, I light the coal in the fire pot (J) and by turning the crank of the blower (F), move air through the pipe to the bottom vent of the fire pot. The faster I turn the crank, the more air moves through the coal. Coal is kept in the bin (E) until needed for the fire. After the coal tar and other volatiles burn off and go up the flue (J) as smoke, clean Coke remains, and this burns much hotter than the coal did, and so increases the temperature of the steel, which can get to over 2100F degrees. I usually work the billet at much lower temperatures. Located at the bottom of the fire pot, is a 2 inch pluming ” T”. Air goes into the side opening, and out the top that is connected to the bottom of the fire pot. The third opening is at the lowest position, and has a hinged flap. When this flap is open, any slag and ash drop out. thereby clearing the air path. That is why I have a metal bucket (I) below to catch the hot slag. The hinged flap is weighted to force the flap closed, unless I manually open it. Otherwise air would not be forced through the bed of the fire pot.
Using tongs to grab the steel, I take it to the Anvil (C) to begin hammering to shape. Note the various hammers next to (D) I use different shapes and weights for various operations. As the tongs get hot from prolonged contact with the hot metal. I cool them by immersing in the water bucket (G). To keep things straight I lay the item on the leveling anvil (D) which I made from a 34″ section of rail road track. If you enlarge the top photo, you will see where I marked the edge in one inch increments, So I have a non flammable ruler within easy access.
View from other end of work area showing the McDonald Rolling Mill (H) along with the coal bin and anvils. Some times I have material that is much larger than I need. This had previously taken a long time to hammer to size. Now that I have built this mill, it is much faster getting stock to the proper thickness. My new brick forge inside the building my wife allowed me to build so I am out of the weather.
Custom Tools
Fullering tool
This is a tool I made for hammering fullers into a blade. The U shaped spring was made from a 2.5 x 0.29 bar of 5160H, with two 1 inch bars of D2 that after I polished and tapered the ends, welded onto the ends of the spring. There is a square piece welded onto the bottom to fit into the anvil’s hardie hole to keep it from moving around when in use, and a 0.25 inch thick bottom plate of mild steel to support the lower section. Now I can place the tool on the anvil, holding the blade between the round pieces, hitting it with a hammer to get the fullers shape started.
Fire proof measuring
I had burned up quite a few tape measures from getting to close to the hot metal before I decided to get a rail road track, cleaned up the ends, then cut a ruler along the side. Now I can straighten a bar, as well as have a measurement of what I am doing in the forge. I tac welded it onto the cross bar to keep it from falling off and hitting my feet.
Rolling Mill
Some times I want a bar of a thickness that isn’t a standard size, and drawing out a billet with a hammer takes a very long time. A few years ago I saw an article on the Mc Donald Rolling Mill and thought it would speed things up a bit. In the summer of 2006 I bought the plans, and built one of my own. I hired out a few operations, because I do not have the equipment for making bearings or the main rollers.
Gas Forge
I have finally started building my gas forge. This will have 4, one inch diameter burners. Designed after the T-Rex style venturi burner. I started with a 30 inch long by 16 steel pipe. Lined with 3 inches of inswool insulation, covered with 3/8 inch of refractory cement, top coated with ITC-100. This will have a flat floor. Leaving about a 9 inch diameter internal area. View is from the mouth of the gas forge. Clearly visible are the brackets for the dual doors, so I can close up for the night to keep out small animals, or to anneal steel. The rear has a sliding rear wall so I can use this with only the front 1 or 2 burners if I wish. giving me a 30 to 14 inch long adjustable forge.
Swage block
This is great for welding up cable for cable damascus. It gives 3 impact points rather than the 2 of a hammer and flat anvil. Also a simple swage block for folding and making clean 90 degree bends. The anvil is normaly used to make bends, but this allows a cleaner, square outside to the bend than the edge of an anvil gives. I don’t use it this way very often.
