How to make Damascus
There are two main definitions for Damascus steel. First are the original medieval wootz steels that some people think were first smelted in India and made into beautiful blades in the area presumed to be Damascus Syria. Its hard to know for sure about anything from that period in metal making history from so long ago, In part because of all the myth and mystery surrounding its origins.
This page is general overview of making a blade. For details of specific blades, I have started building pages documenting the step by step construction of the making of various blades. I am currently working on a modern Katana. I currently am folding the layers of the billet, so there is not much to see at present. I will take photos where there is something worth seeing. I will add more blade pages as I get clients ording various styles.
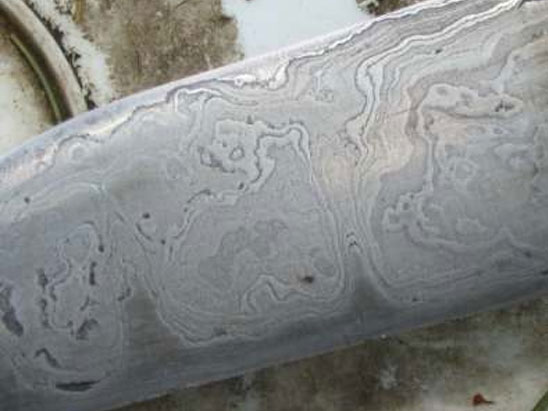
Here is a photo of a real Wootz Damascus blade; Photo by Jeroen Zuiderwijk,
Doug made this San-mai with an L-6 core, and sides of 120 layers of 15N20,1018, and 203E
For planning the patterns of the billets, I generally place metals in groups of light and dark, though I have made blades of all light colored steels and it was a different look having the chrome and nickel alloys. With no dark banding it was more of a subtle sheen change: shiny vs. satin.
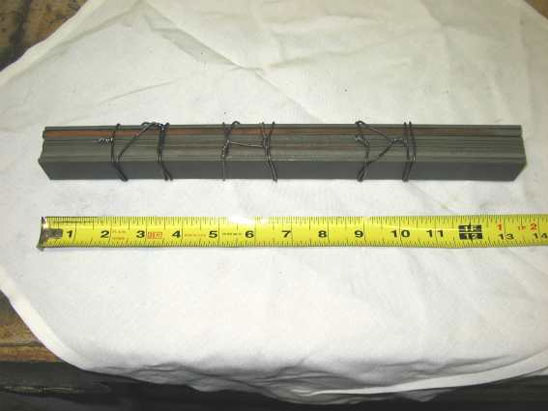
7 layers ready for welding
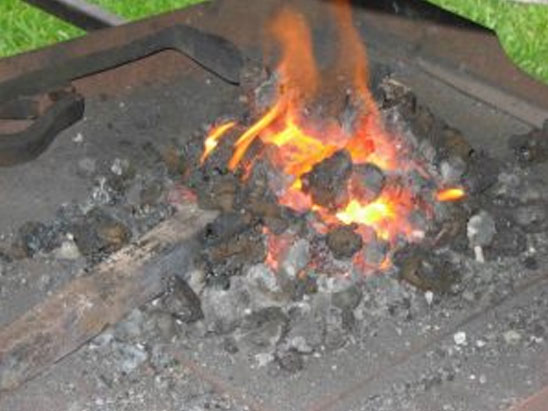
Heating in the forge
Usually I start with bars 12 to 18 inches long and 1 inch wide and thicknesses range from 1/32 to 1/4 inches thick depending on various factors. I grind the edges clean and free from mill scale, to improve the bond when welding, and then stack the steels alternating color type to about 1 1/4 inches tall. Much taller is too hard to hold an even heat when forging. As some layers will be cooler than others until welded. Non-nickel containing steels are placed to the outside of the stack to reduce scale formation. When making up a stack, I place them in the vice and squeeze the stack tight, and wrap it with wire in sections that I can remove as I weld.
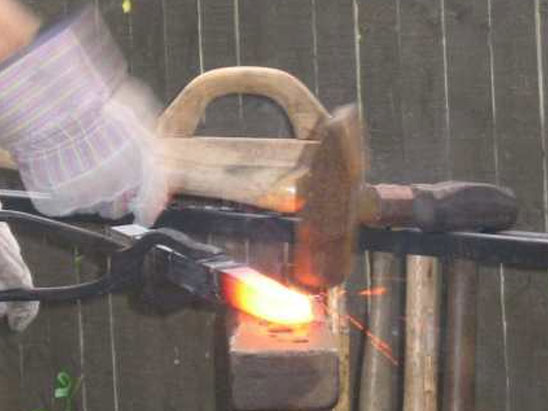
Welding it up, notice the first set of banding wire has been removed
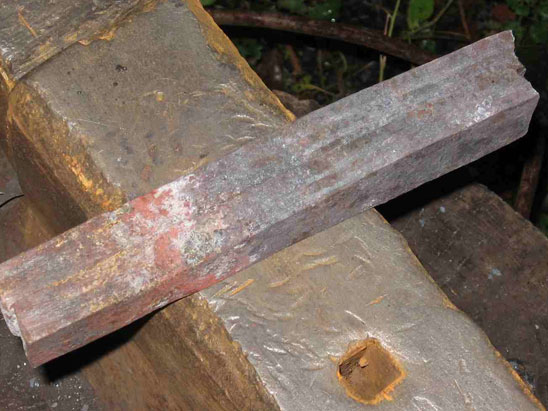
Folded and welded
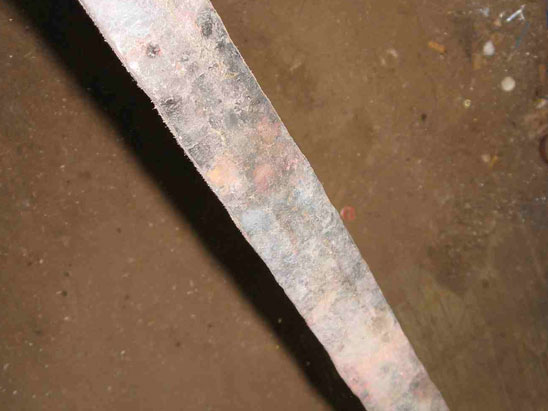
Rough hammered sword
After I hammer the blade to shape, I use a lighter hammer for the cutting edge, while this moves very little metal at a time, this cycling of the heating, cooling, and repeated hammering helps to refine the grain. This process is sometimes erroneously referred to as edge packing.
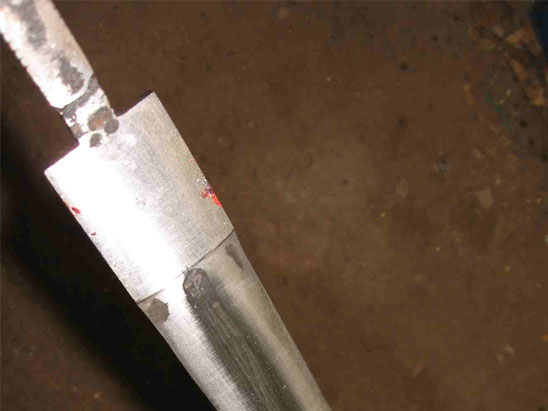
Rough ground sword
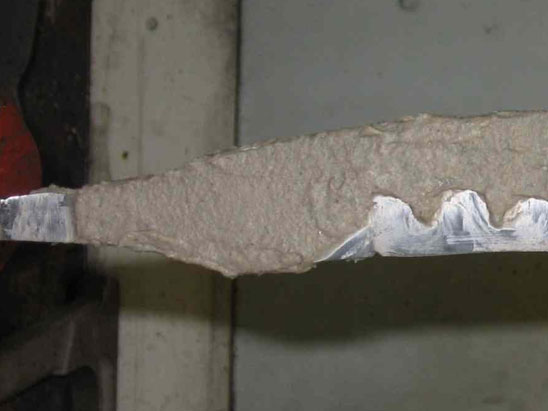
Clay on blade
Sometimes we use clay to mask off parts of the blade as part of a process called differential hardening. This is mainly seen on folded steel Japanese style blades. But it can be done on other blades. Where the steel is exposed, it will harden upon quenching. The coated places will end up softer. Also these areas will be visible with a high polish. Finish
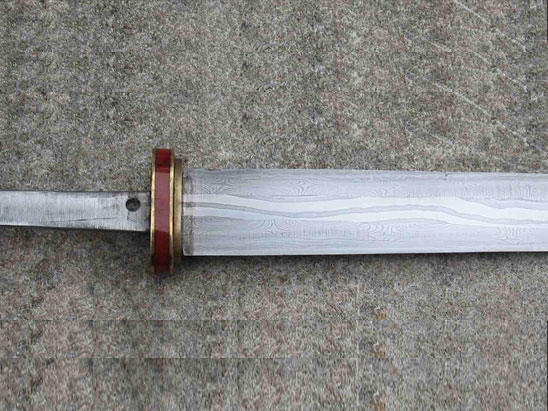
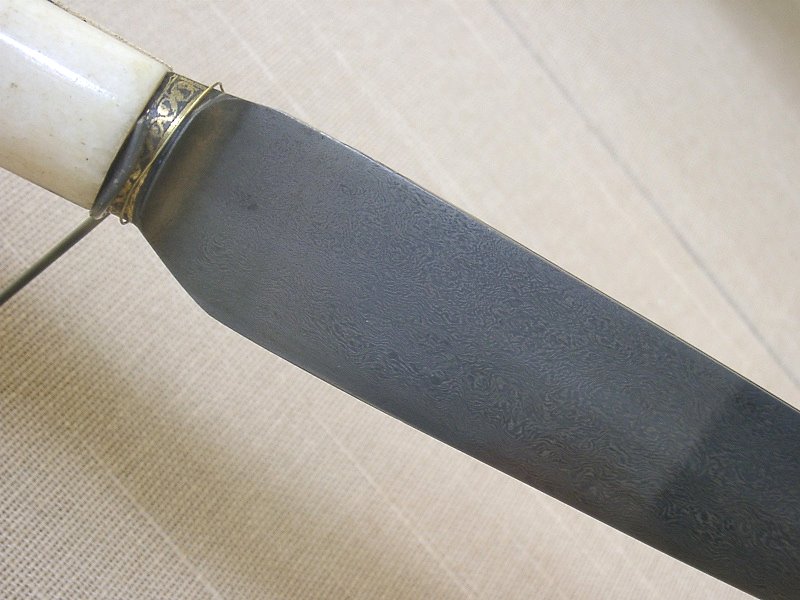
Brass & Jasper guard mounted to 3 core Viking serpentine blade
Most of the fittings I make for the blades are made of nickel silver or brass; but some may be iron, mokume gane or even more Damascus. I offer the option of having the fittings plated in various metals such as sterling silver or gold, which I subcontract to a local plating Company.
Whenever possible our leather, wood, bone, antler and gems for grips and inlays are purchased locally, and added as requested.